| First, you initiate the whole process by submitting your request and/or design ideas for a quote and evaluation. |

|
| |
|
| Once we’ve all fully discussed how best to design and make your buckle, provided a suitable quote and you’ve decided to proceed, we continue on to the Artwork stage while finalizing
payment and contact details. |
 |
| |
|
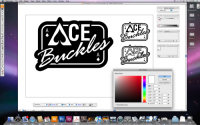
| Black and white artwork that is ready for production is completed and sent for final approval. At this time, if the design isn’t ‘just so’, you let us know what needs adjustment and
those changes get made. This new refined artwork is then sent out for final approval. |
 |
| |
|
| Once final artwork approval has been given by you, the buckle design is sent into production to become reality. First, a model is created - the model is a one-off replica of the finished piece. |
 |
| |
|
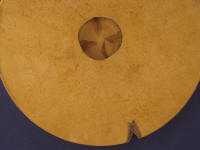
| The model is put between 2 halves of a rubber mold and placed into a ‘heating’ machine. This machine ‘heats’ or ‘cooks’ the rubber to a semi-fluid state that allows the rubber to take
on the shape and design characteristics of the still solid model inside. Once done, the mold is cooled until it returns once again to a solid state and split open. This image shows the
impressions (or cavity) the model has made into the molds and the channels that have also been carved into them. |
 |
| |
|
| Shown here is the hole on the top of the assembled mold where the molten metal is poured in. These ‘channels’ allow the molten metal to flow from the center hole out to the hollow
cavities of the buckles and fill them up. |
 |
| |
|
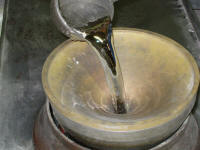
| Here is the molten metal being poured into the casting machine. Under the ‘bowl shaped’ piece, the mold is spinning at a high rate of speed. This spinning motion forces the molten
metal through the channels cut into the mold and into the cavities (using centrifugal force), filling them up to create your buckle. Small channels are also carved into the mold to allow
air to escape the cavity while the metal enters. |
 |
| |
|
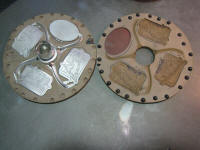
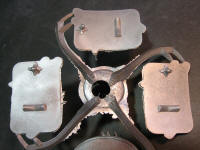
| Here are all the channels and cavities filled with the now hardened metal after the mold has been pulled from the machine. The center tall piece is called the sprue, where the molten
metal enters through the hole in the top. |
 |
| |
|
| To remove this set of pieces from the mold, you grab hold of the sprue (good idea to have gloves on as the metal is still hot), wiggle it up and down and side to side a bit to loosen
things up and pull everything out. |
 |
| |
|
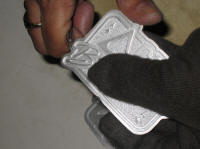
| After breaking the buckle from the channels, a knife is used to take off the excess metal left by the metal going in and out of the mould. |
 |
| |
|
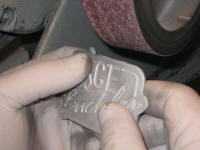
| After any excess metal has been removed, the edges require grinding to smooth them out and remove any additional excess metal around the perimeter. |
 |
| |
|
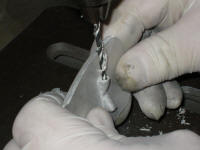
| While the buckle is still in its raw state, the mount holes for the belt loop must be drilled out for the loop attachment. You only need to drill out up to about 3/16”, but it is very
time consuming as you have to line it up by eye each time and there are 2 ‘holes’ to be drilled in each buckle (top and bottom of the mount). |
 |
| |
|
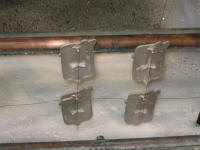
| First, using the basket as pictured, the buckles are cleaned and rinsed. |
 |
| |
|
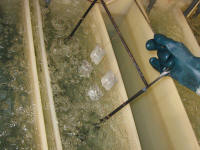
| As Pewter is typically not plated, the preparation for final finishing is quicker than Zinc. This is one of the main reasons why Pewter is utilized for rush deliveries – it is less
labor intensive and therefore much quicker. |
 |
| |
|
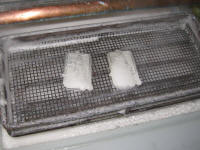
| In this image, the buckles are placed onto a tray type rack (they don’t have to be ‘strung-up’ like the Zinc version) in preparation to be lowered into a ‘blackening’ agent. |
 |
| |
|
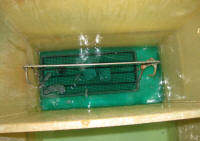
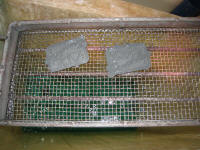
| Here the Pewter Buckles are shown in the Blackening solution which basically reacts with the surface of the buckle turning it a blackish grey. |
 |
| |
|
| As you can see when compared with the picture above (2 pictures up), the buckles have a darker look to them here after being in the solution. This darkened look will be used later on
to allow contrast between raised areas and background. |
 |
| |
|
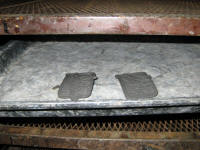
| After Blackening, the buckles are put into an oven and ‘cooked’ for awhile to dry them out before the next stage of the finishing process is started. |
 |
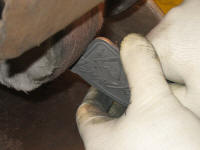
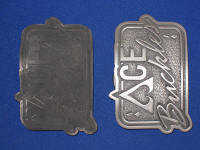
| Once the buckles are nice and dry, they are ready to be 'buffed' or 'polished' to create contrast in your design. This process takes off the Blackening agent on the raised and open recessed surfaces. The 'buffing' or 'polishing' wheel can not reach into the tiny and tight areas of the background along with the areas around the raised surfaces, so you are left with these areas being darker. |
 |
| |
|
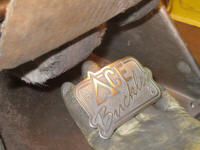
| This effect creates contrast for the logo and text and makes your custom piece more legible. |
 |
| |
|
| You can really see the difference in this image of Pewter buckle. |
 |
| |
|
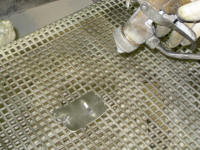
| Now that the buckle has been buffed up and all of the necessary Blackening agent removed, it is sprayed front and back with an environmentally friendly water based sealant. This seals
the piece and gives it a nice finishing low lustre shine. |
 |
| |
|
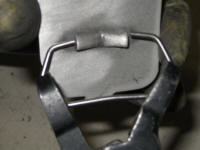
| A buckle without a loop to attach a belt to isn’t much good, so at this point a special tool is used to separate the ends of the loop finding which is then inserted into the holes
previously drilled into the mounts. |
 |
| |
|
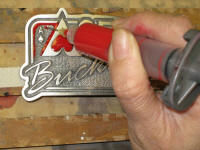
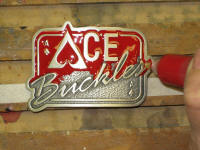
| The final stage of Production is the color filling process, which can be a very labor intensive step in the procedure. Proper time must be allowed for the filling process itself, as
well as, the curing and drying time of the colors inserted. Here you can see a buckle first getting started and then about half way through coloring. |
 |
| |
|
| Note the intricate nature of the process; it is all done by hand utilizing a pressurized syringe. Hence the longer delivery time required for ‘color filled’ designs. Each individual
cavity must be filled and only one colour can be done at one time. Most colors require 24 hours to cure before the next color can be done. |
 |
| |
|
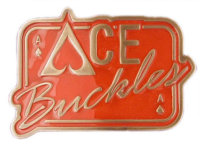
| Now it's done, but there's always time taken for 'quality control', so it's got to go through one final inspection to ensure it's exactly what you've ordered. If all is well, it gets
packaged, boxed up and shipped off to you for your enjoyment. |
 |
| |
|
Hopefully this has given you a better understanding and appreciation of the amount of work that goes into manufacturing your custom piece, and the amount of individual hands-on work
required to make sure it's the best that we can turn out. We take great pride in delivering an attractive and quality piece every time. That's why we always say, you can "Bet on ACE to
deliver'.
Thanks you for your interest in our products. |
 |
| |
|
| All metals used in our products are lead free. All epoxy paints are lead free and sprays solvent free
Focus on using domestic manufacturers whenever possible
Our manufacturers are committed to environmental processes and materials |
 |